First Project
Create a project, generate a UI Spec with AI, and see the first shape of your app.
Welcome Screen
When you open Spec Canvas for the first time, you see a welcome screen. Click Create Your First Project to start a new project.
If you want to explore a finished example first, click Explore Lumina AI sample to browse a ready-made project with screens, blocks, and HTML implementations.
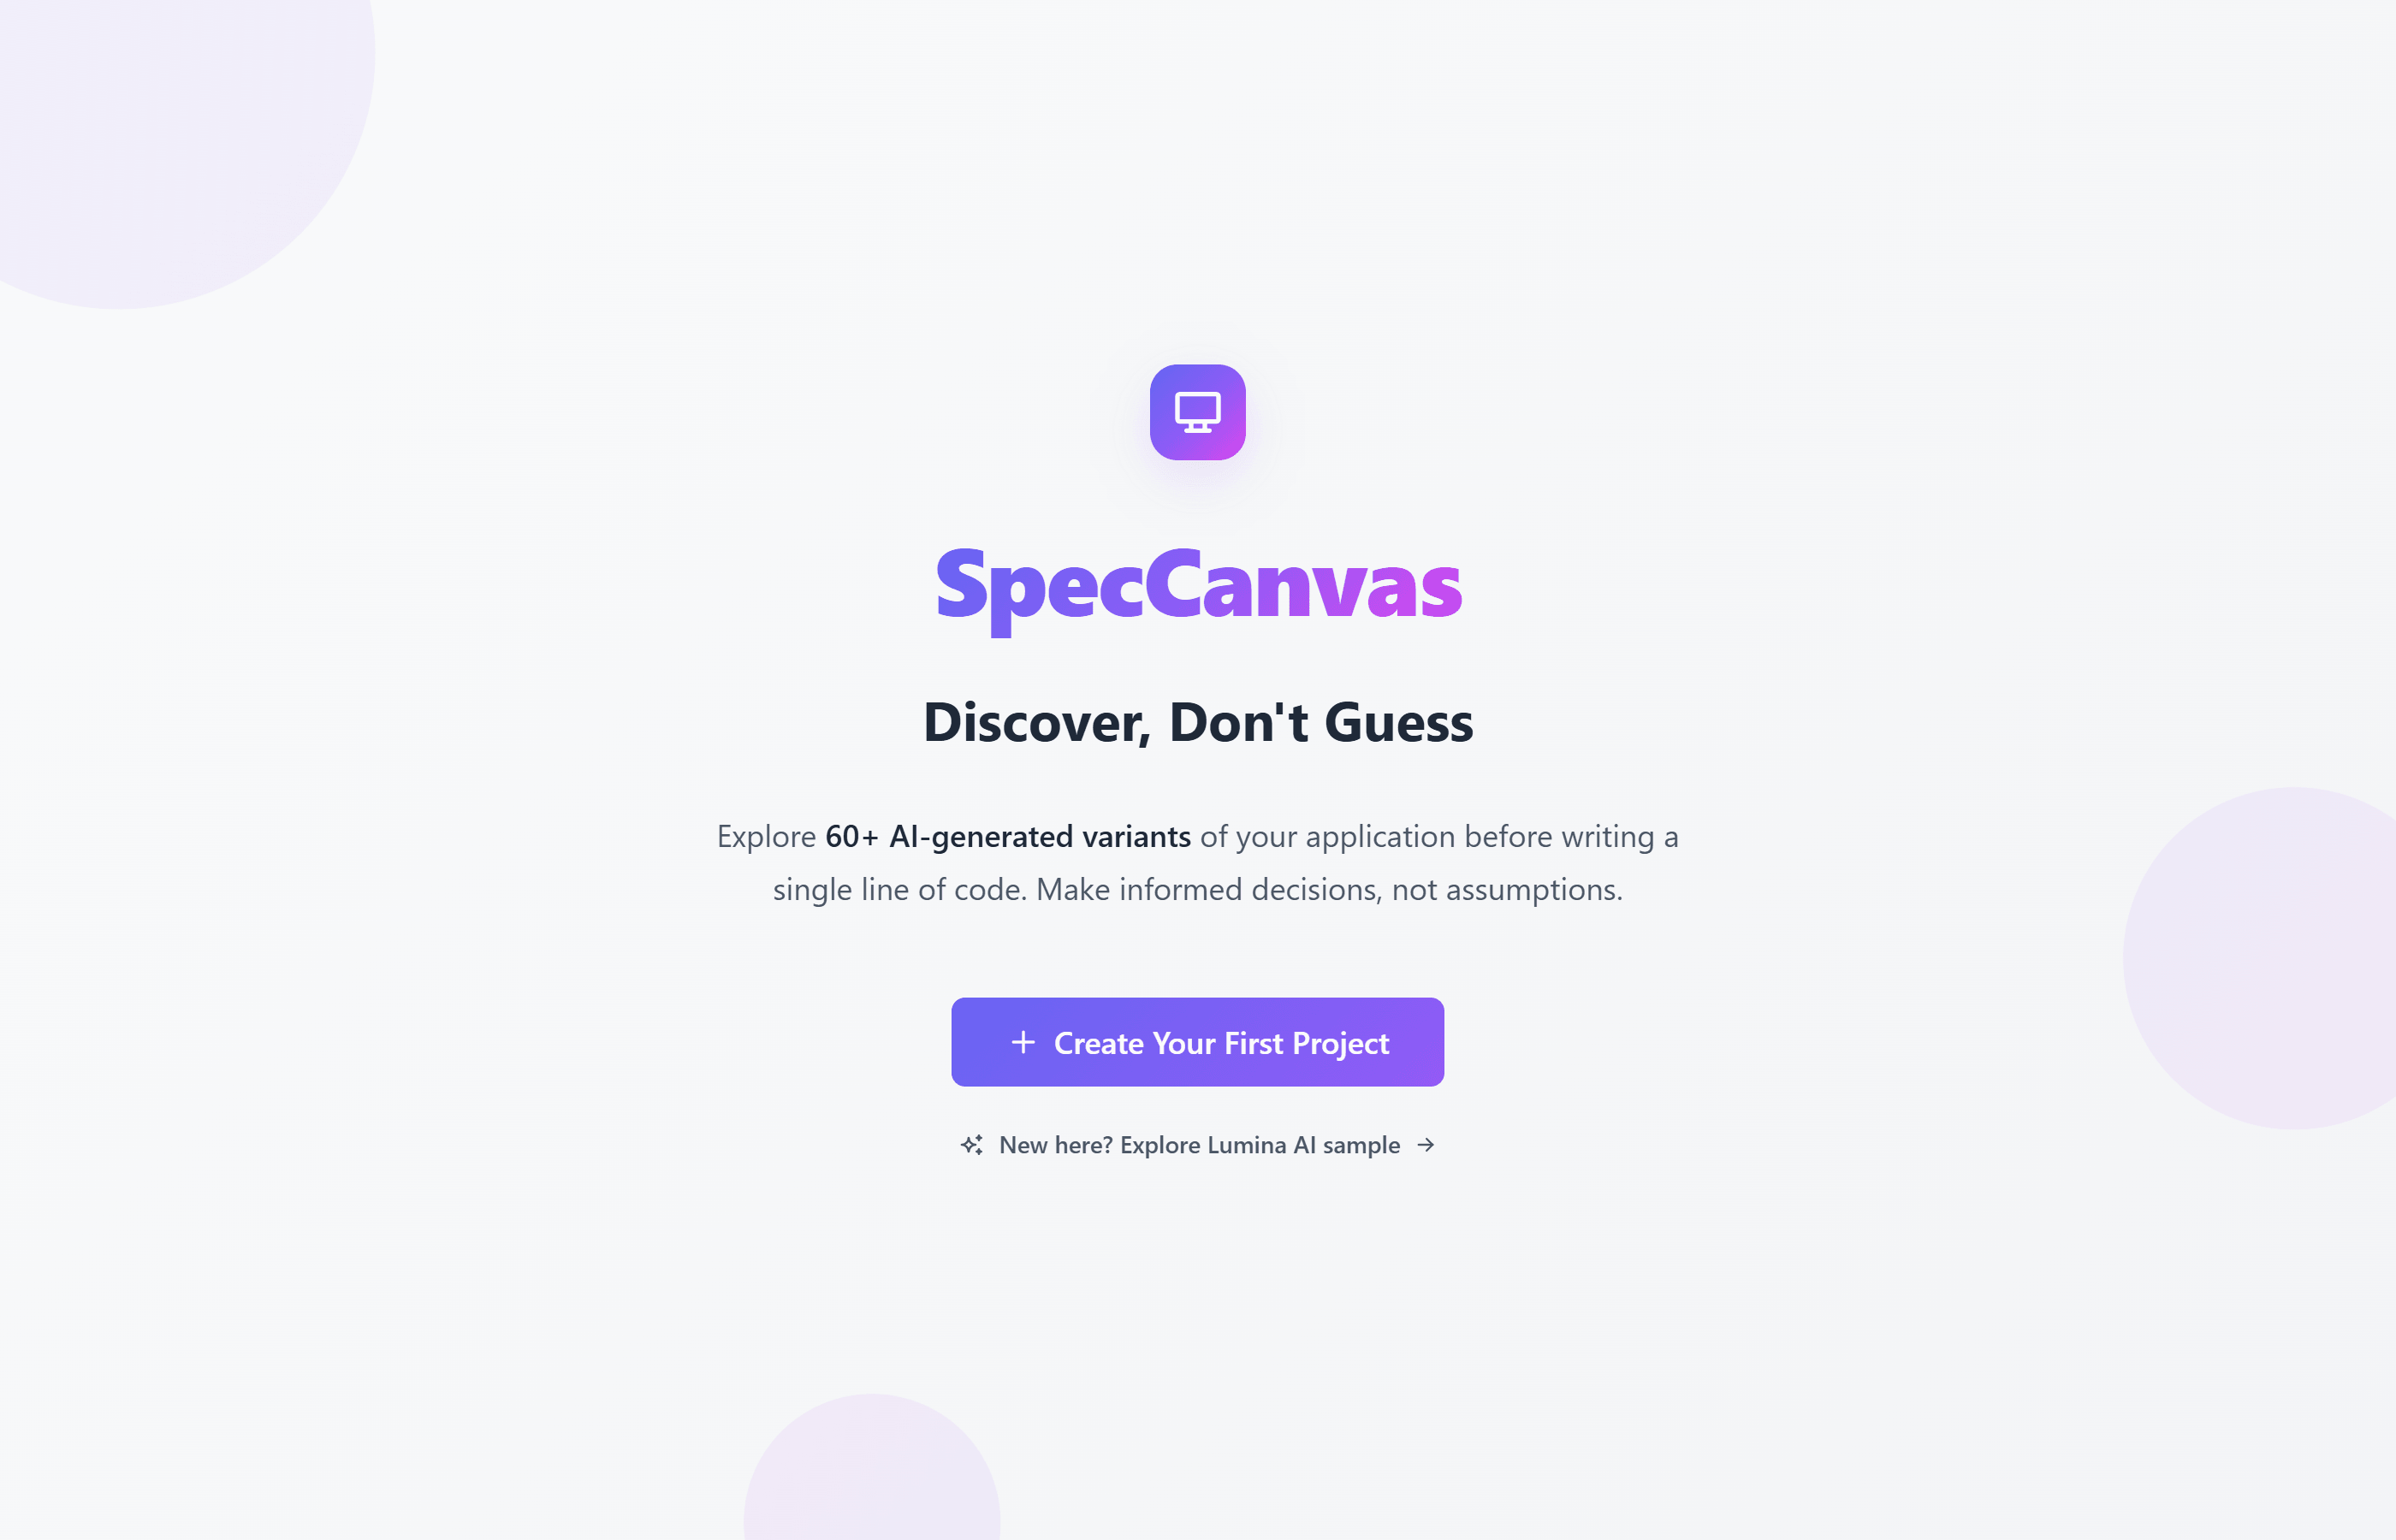
The welcome screen gives you two starting points: create your own project or open a finished sample.
Create a Project
Give your project a name and an optional description. A project is a container for your specs. It can hold one Data Spec and multiple UI Specs.
Generate a UI Spec with AI
On the project dashboard, find the UI Specifications section and click Create with AI.
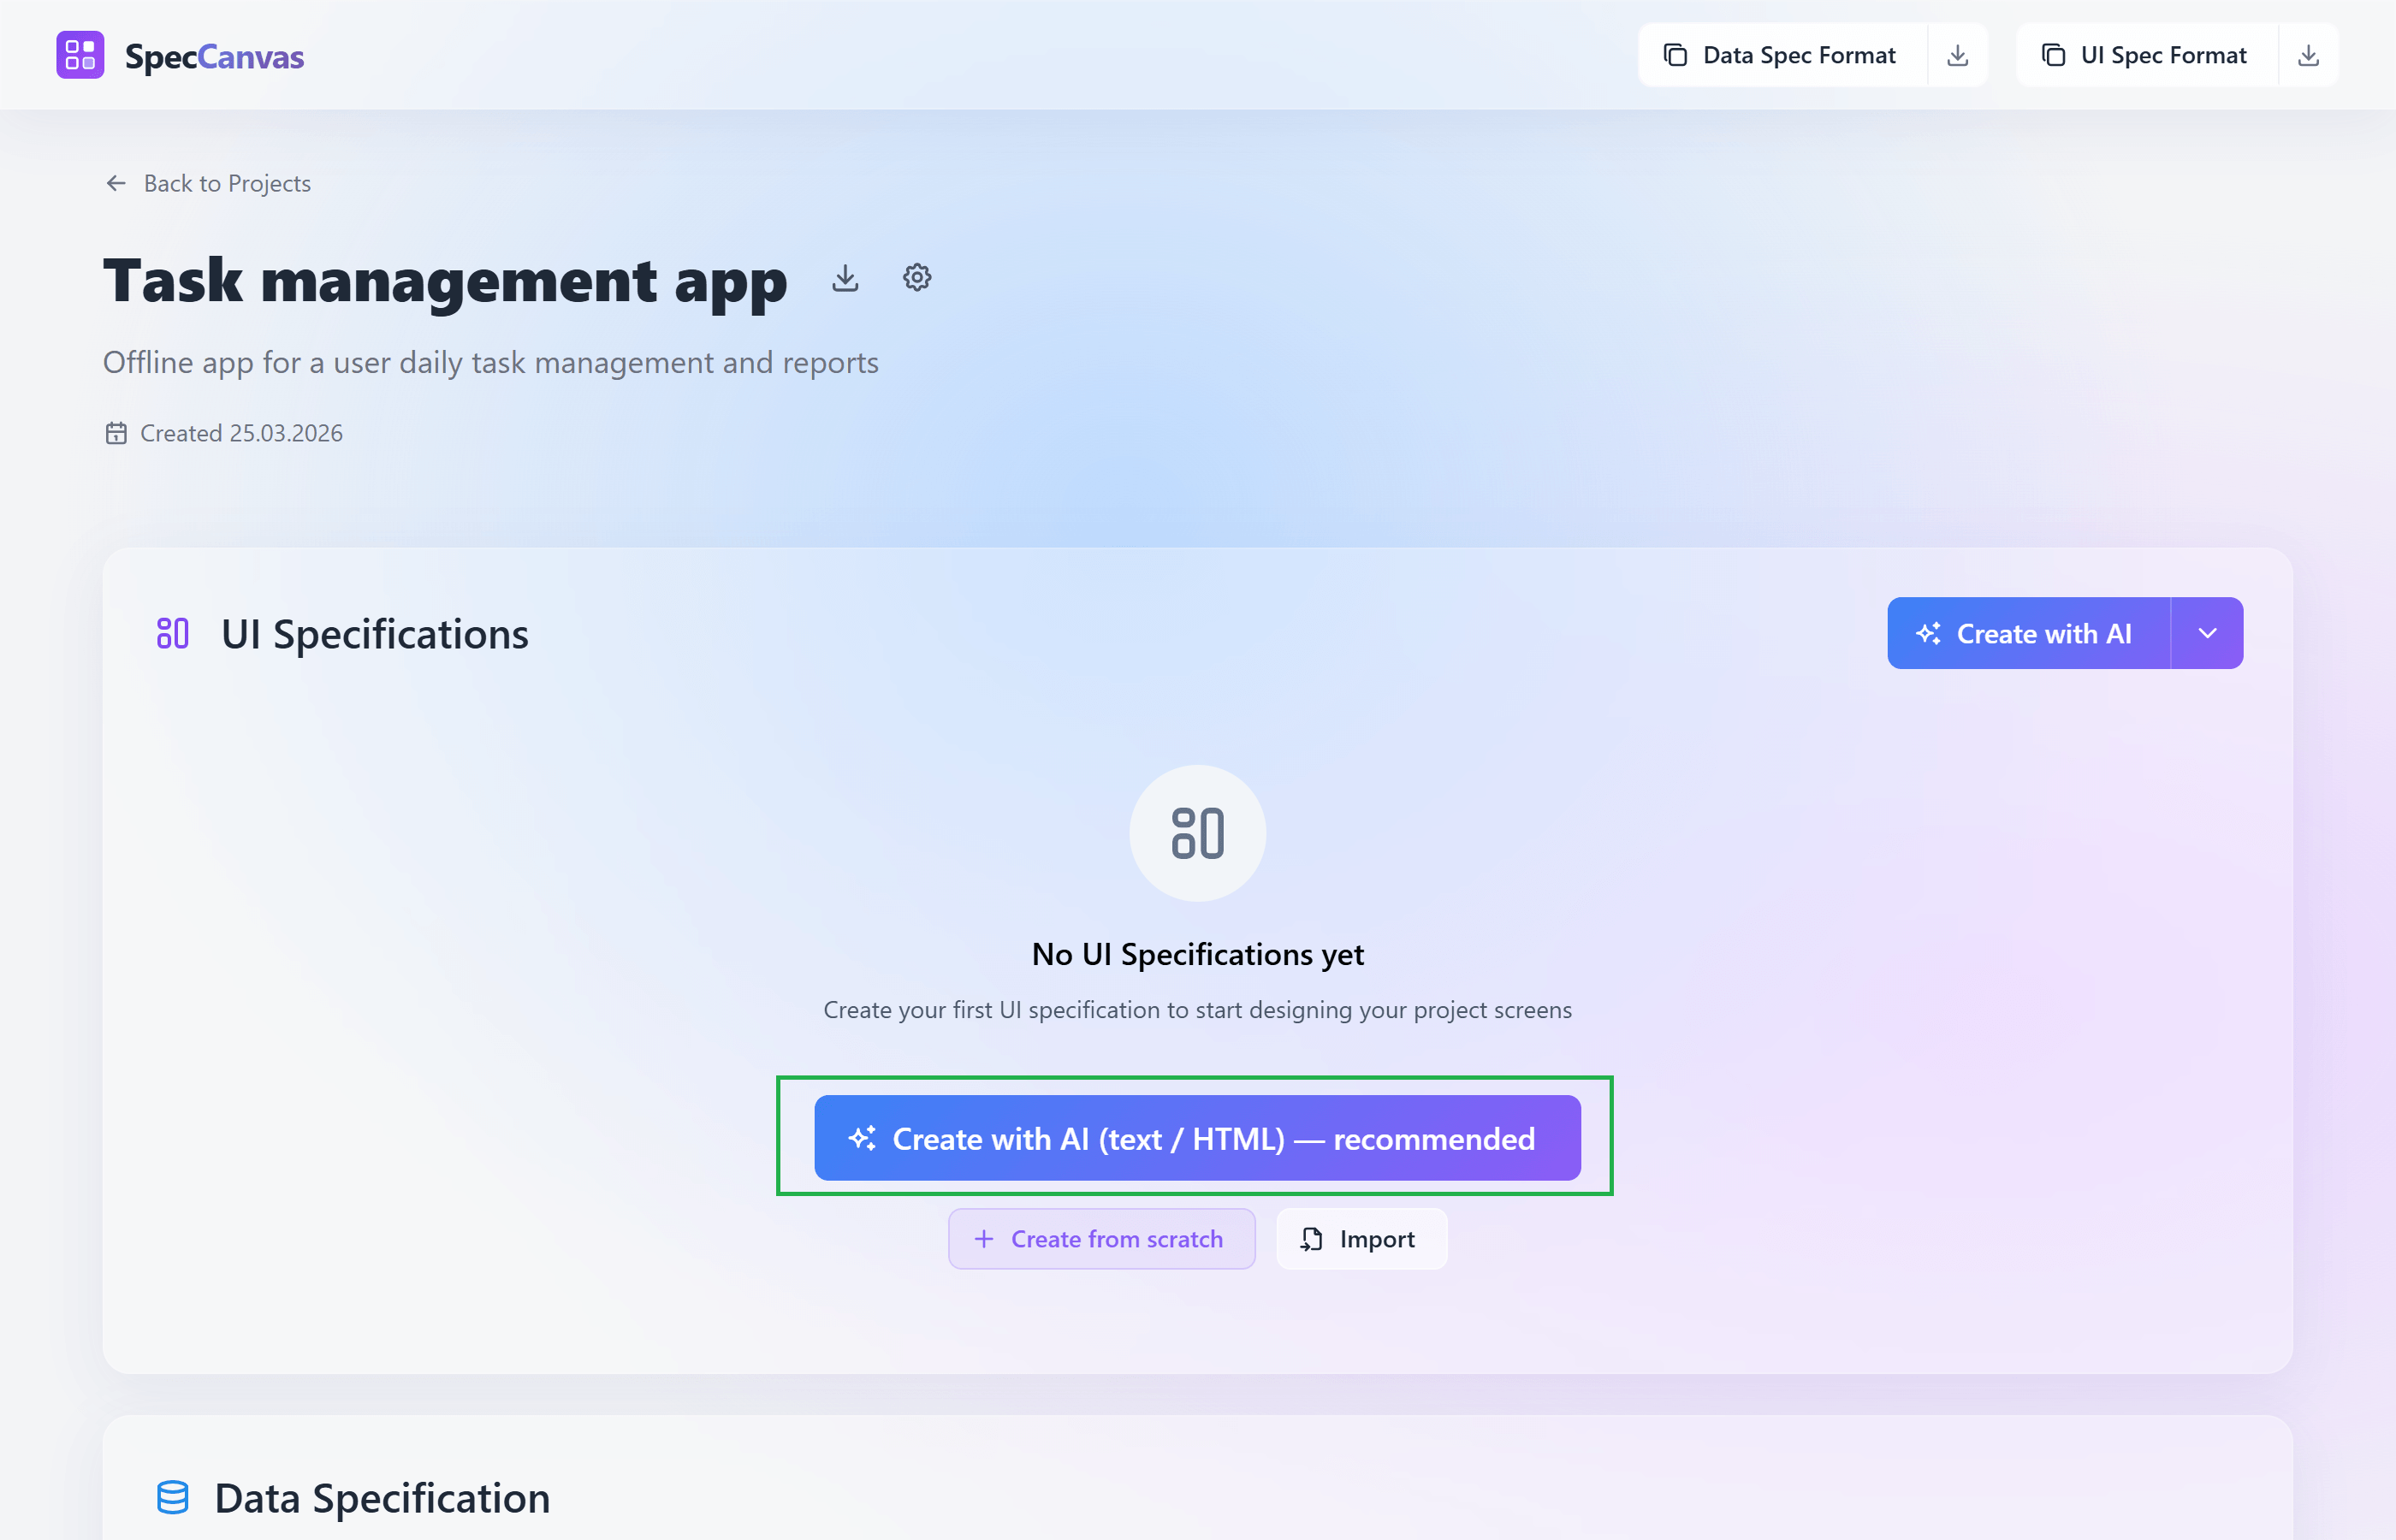
Start from the UI Specifications section on the project dashboard.
The wizard asks two things: describe what your app should do, and pick a detail level. For your first project, L0 Concept or L1 Structure is enough. You can always evolve the spec later.
Example prompt: "A personal task manager. Users can create tasks with titles and due dates, organize them into projects, and mark them as done."
Copy, Send, Paste
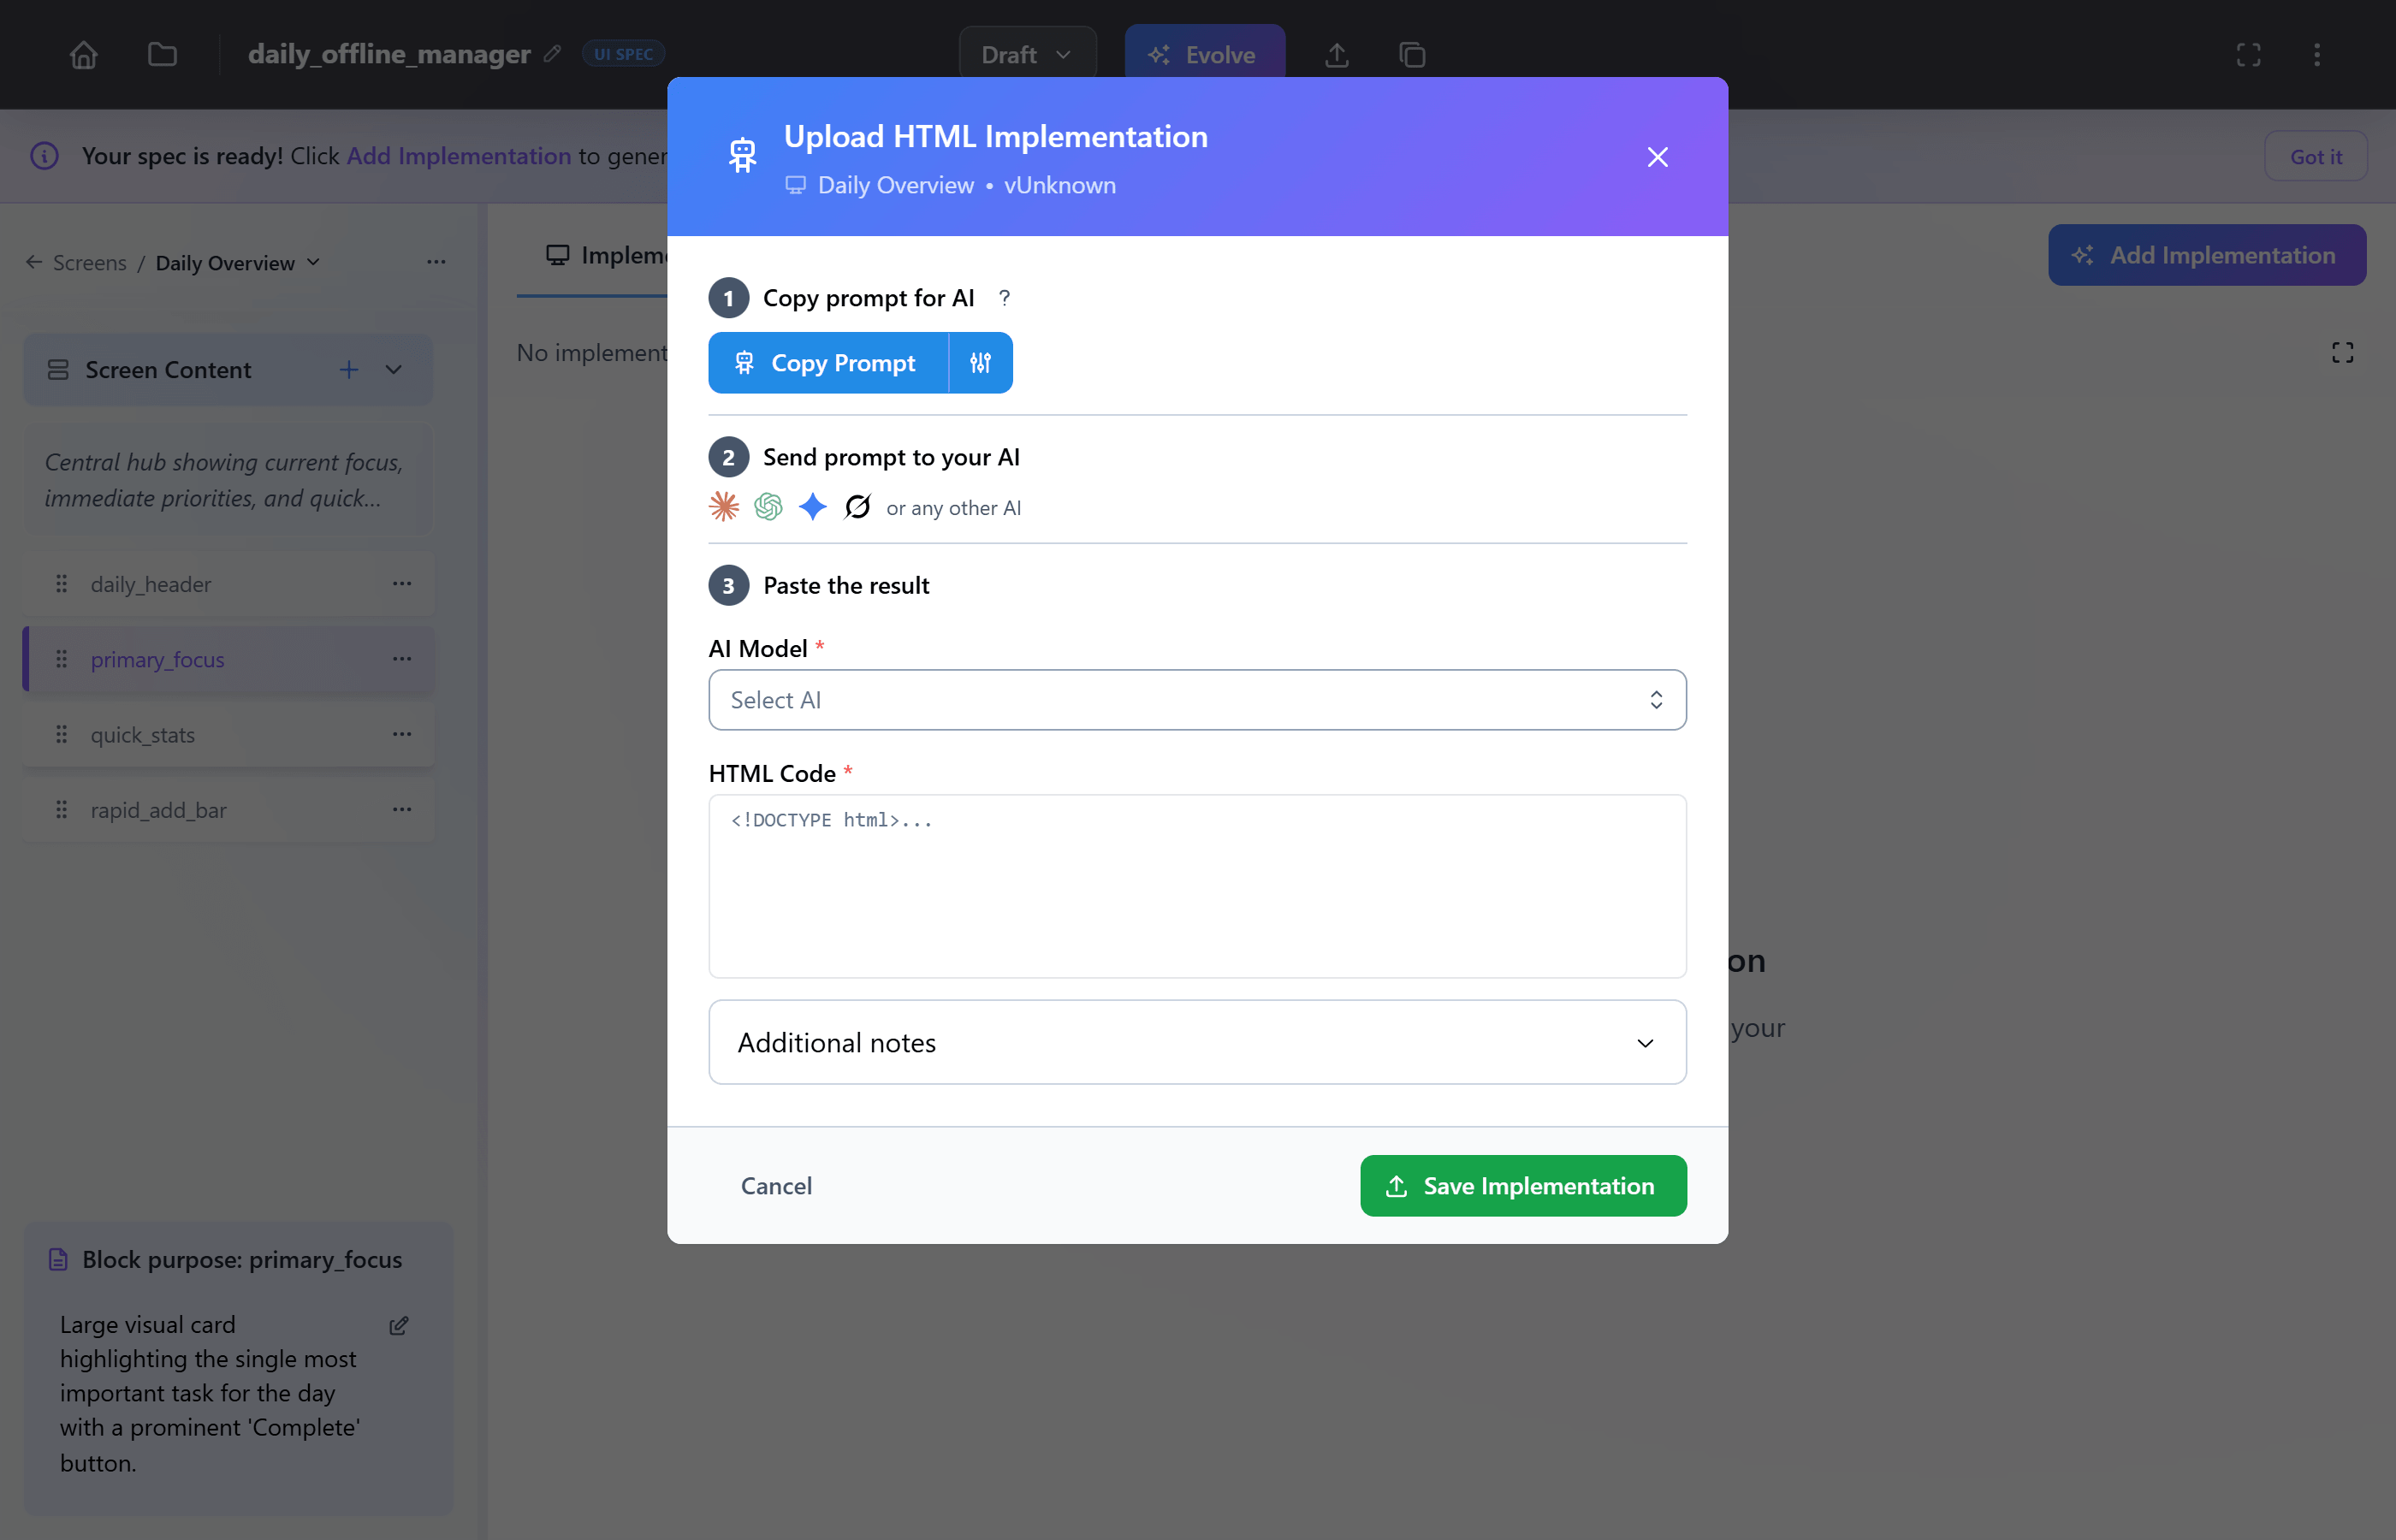
Spec Canvas generates a prompt that includes your description, the UI Spec format, and instructions for the AI agent.
- Copy the prompt from the wizard.
- Send it to any AI agent: Claude, GPT, Gemini, or any other.
- Paste the result back into the wizard.
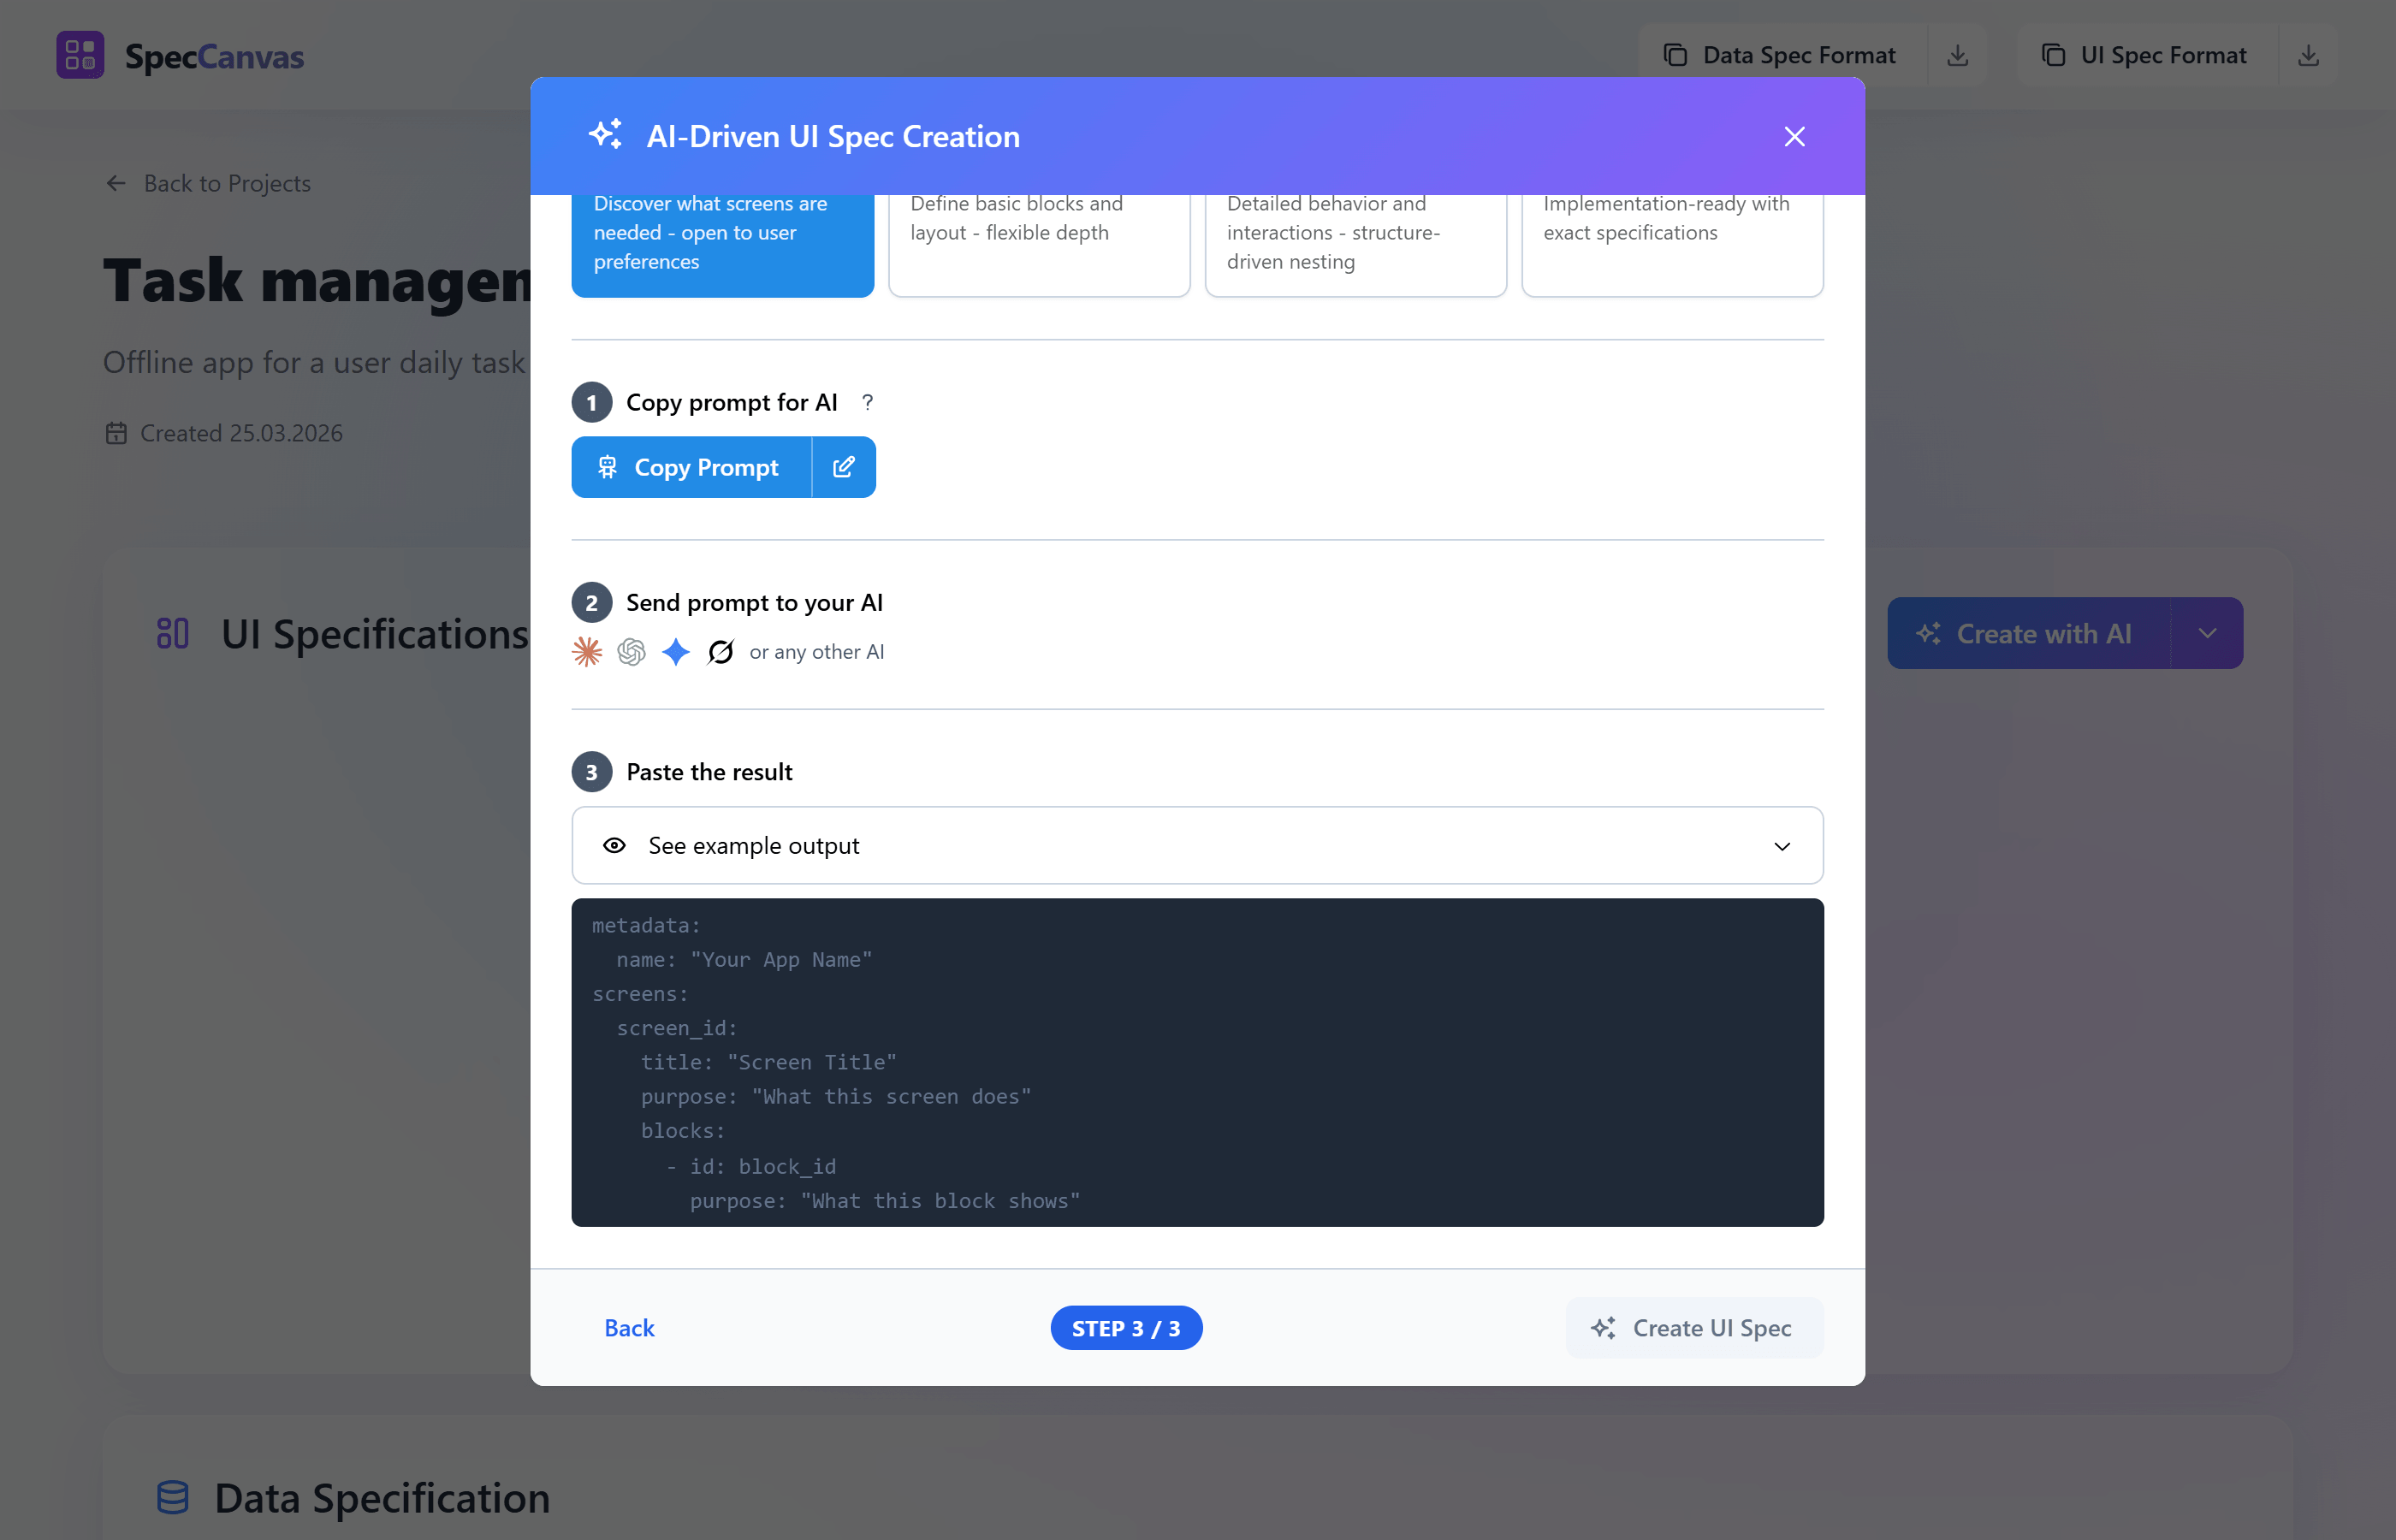
The wizard prepares the prompt and gives you one place to paste the AI result back in.
Why copy-paste? Spec Canvas does not lock you into one AI provider. You use your own agent, your own account, and your own context window. It stays flexible and easy to control.
Browse Your Screens
After import, you land on the screens list. Each card shows a screen from your spec: its title, block count, and purpose. This is the first time you see the shape of your app — which screens exist and what each one is responsible for.
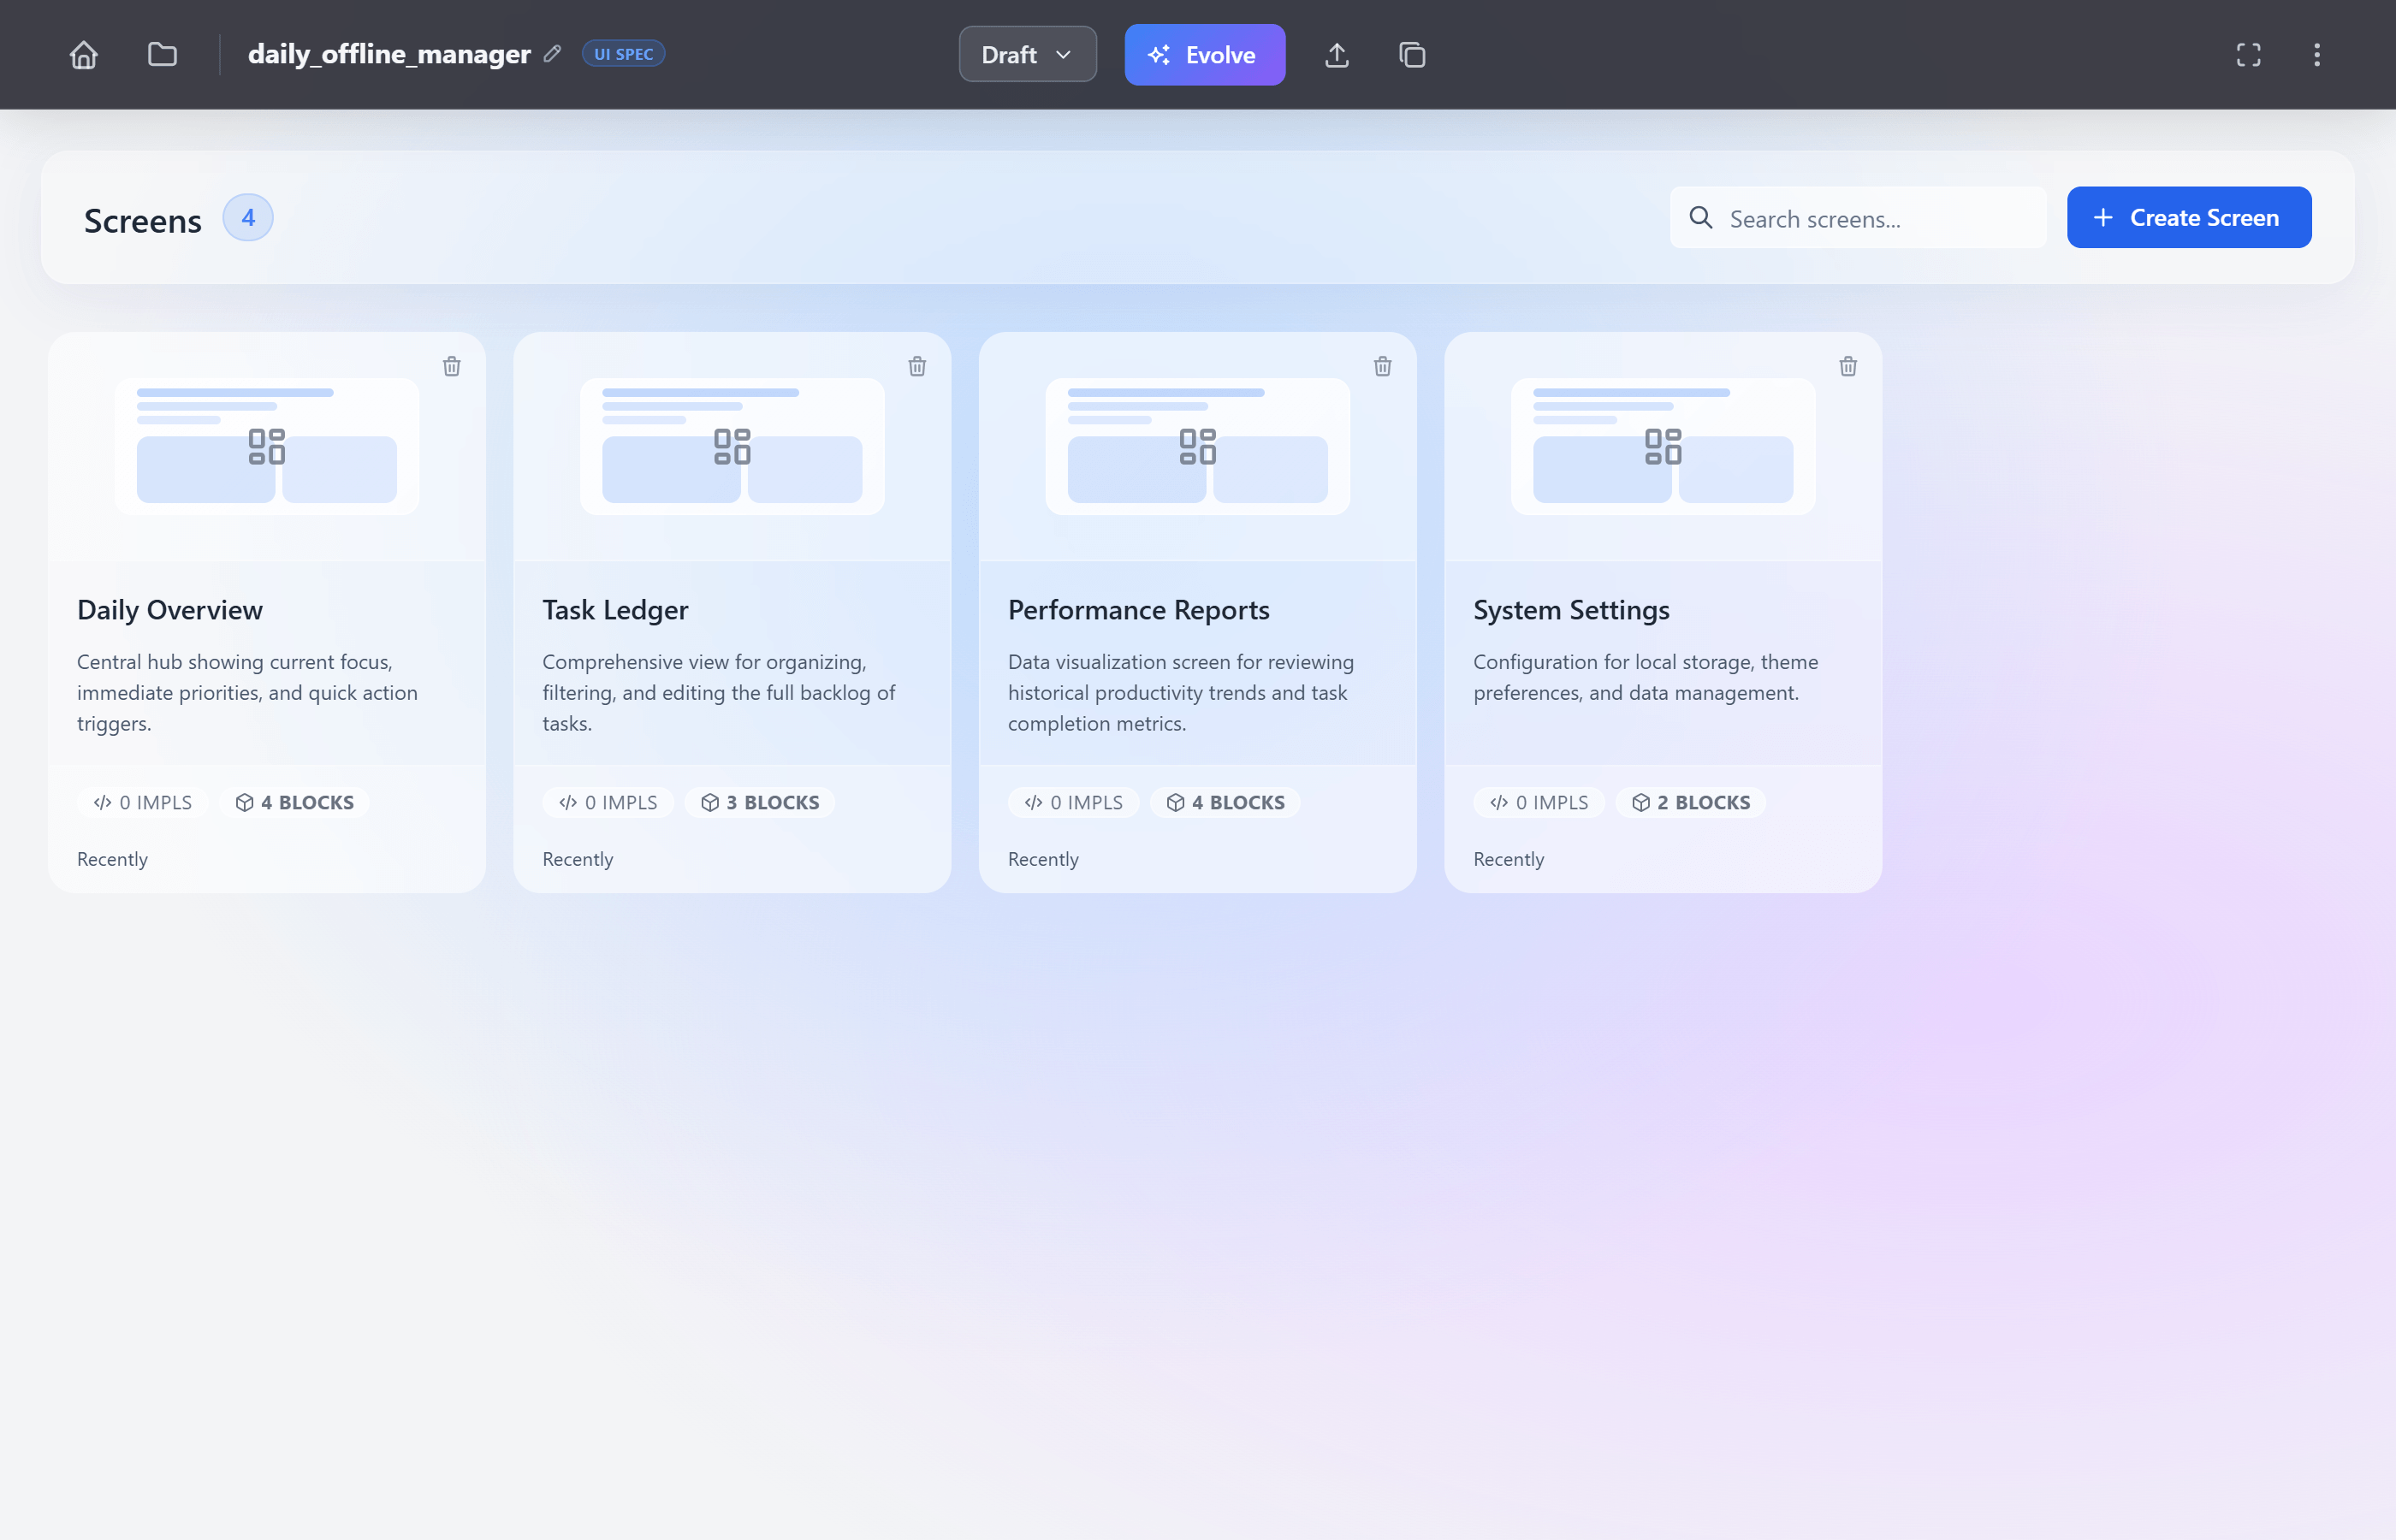
After import, you can browse the screens, inspect their purpose, and open each one in the editor.
Open a Screen
Click any screen card to open the screen editor. On the left you see the block tree: the hierarchy of blocks that make up this screen, with their IDs and purposes. On the right is the preview area where implementations start and where you can launch the next step.
This is where you can inspect what the AI generated, understand the structure, and decide what to adjust.
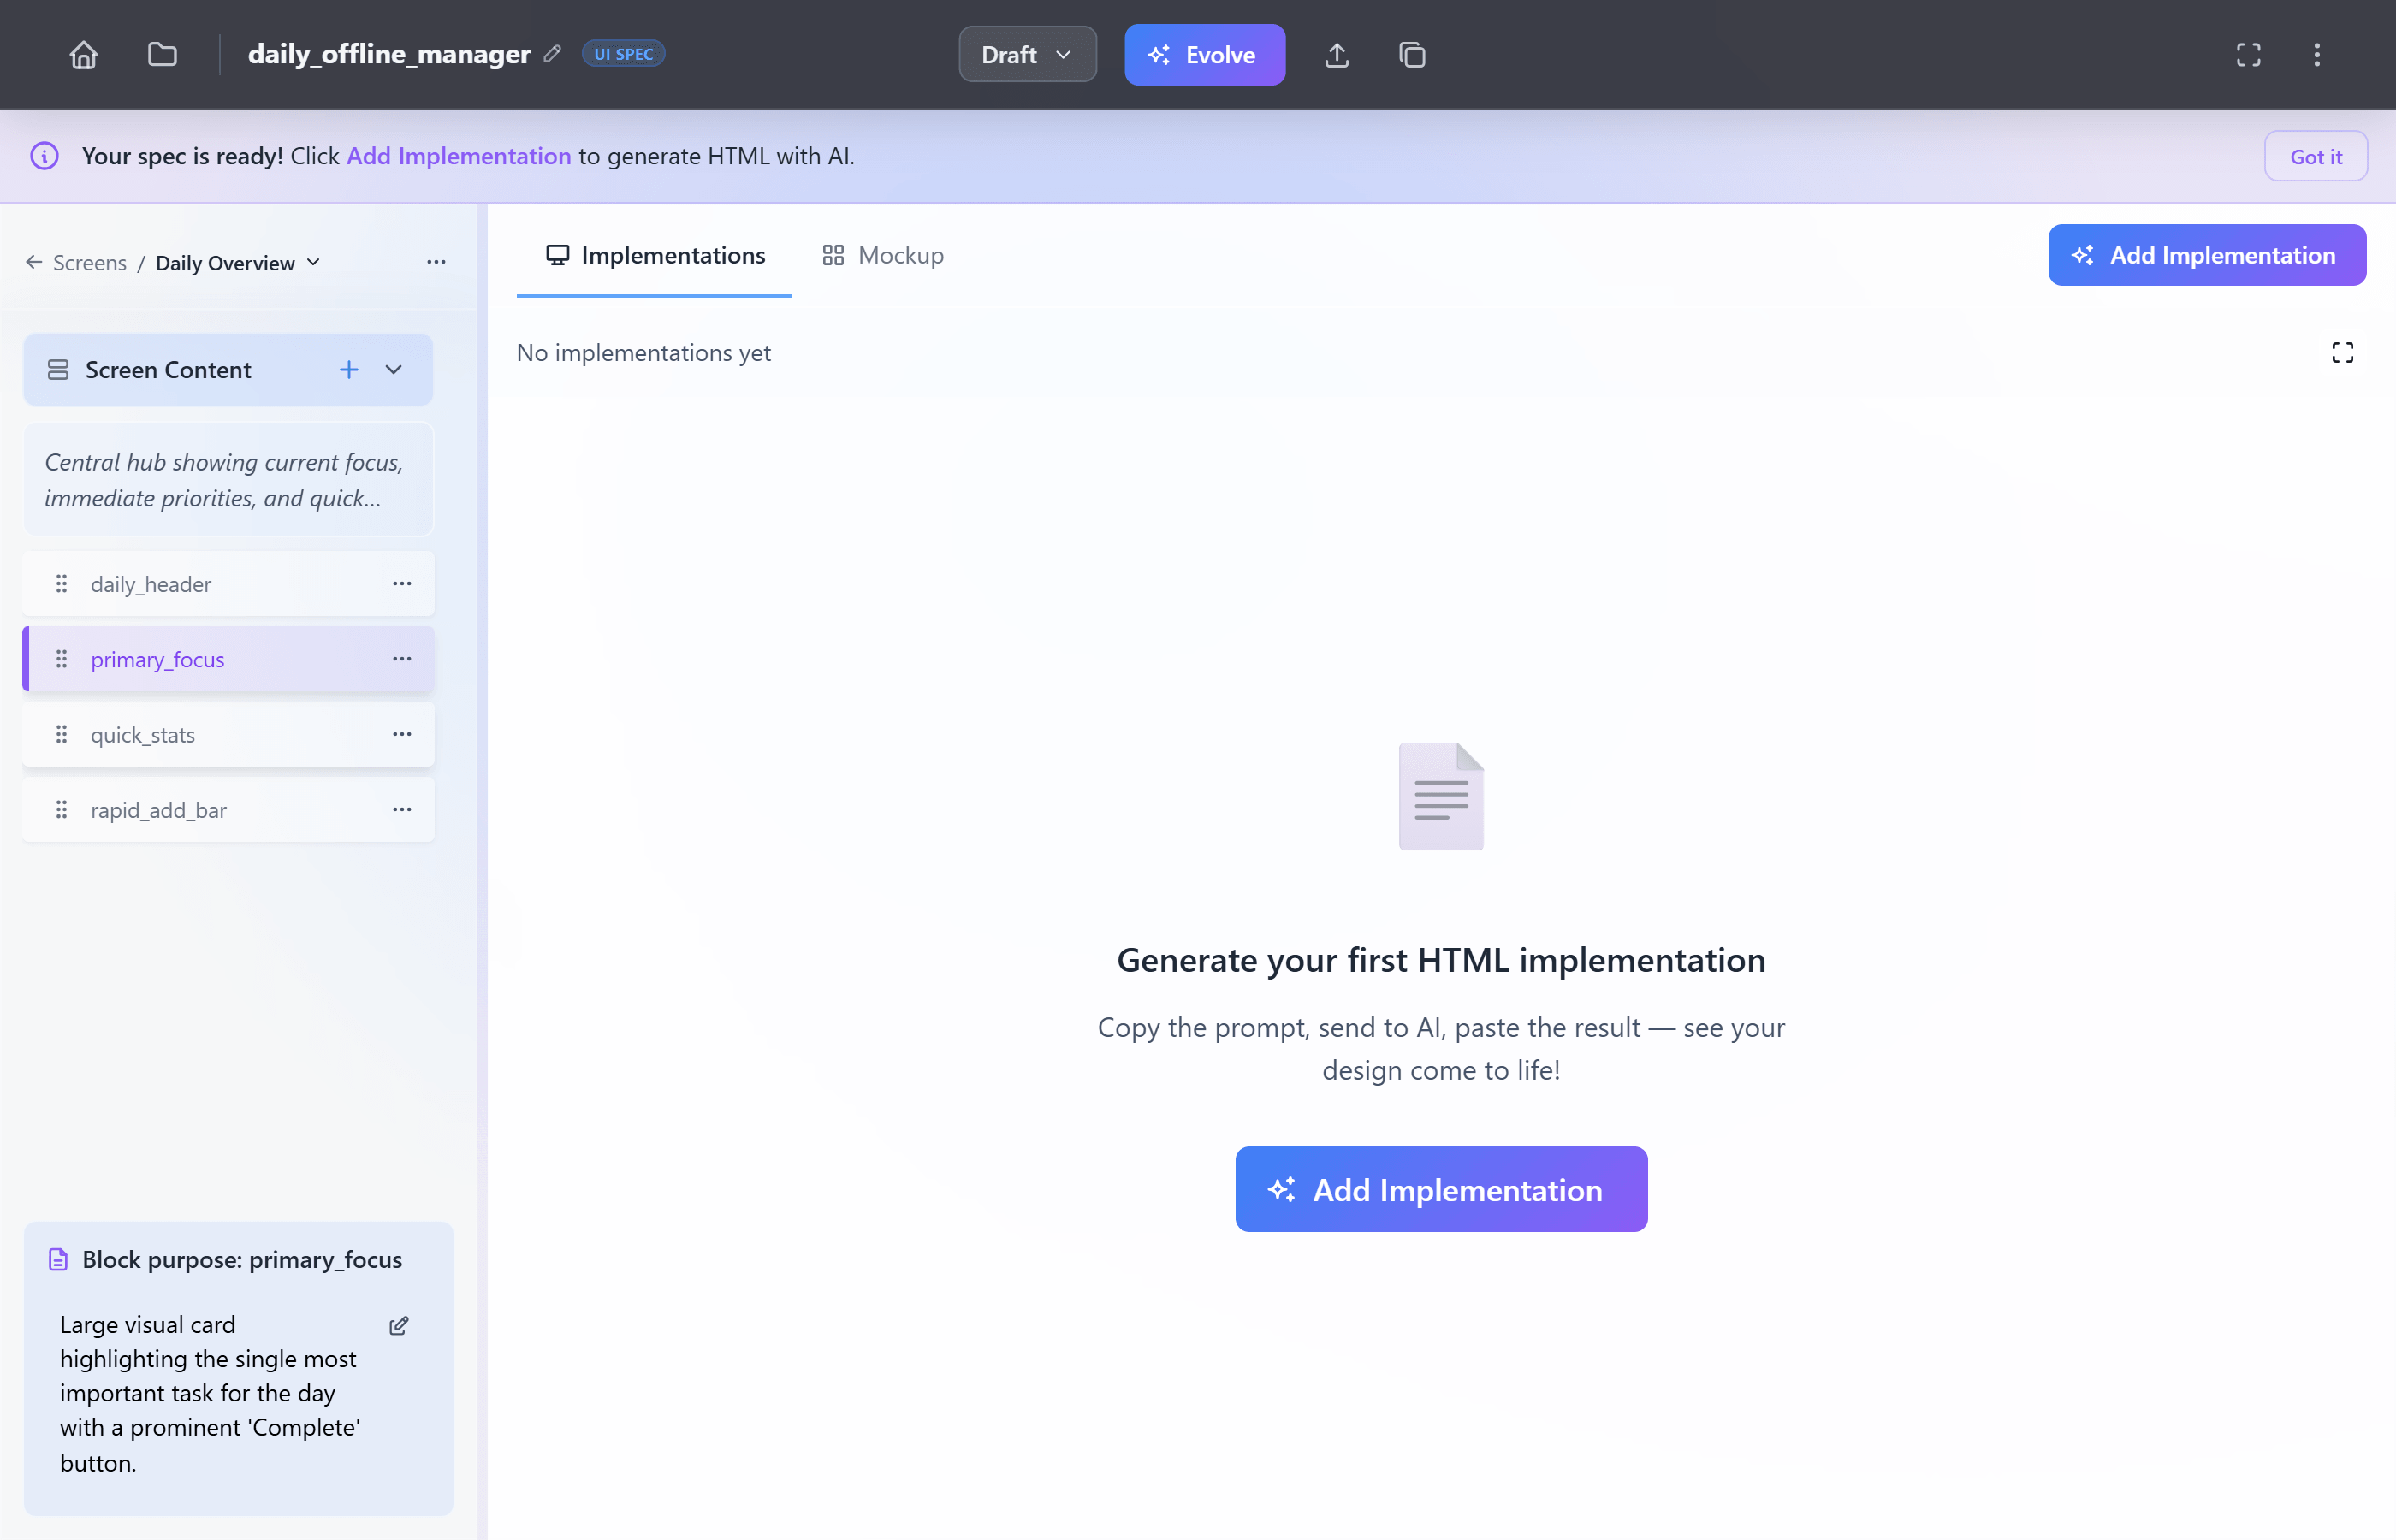
The screen editor shows the block tree on the left and the preview area on the right.
Generate an HTML Implementation
To see how the screen might actually look, click Add Implementation in the preview panel. The same three-step flow applies: copy the prompt, send it to AI, paste the HTML back.
You can repeat this with different agents or different prompts to get multiple variants of the same screen.
Each implementation is one AI-generated HTML variant of your screen.
Preview the Result
After you save the implementation, Spec Canvas opens the fullscreen preview and renders the result there. This is the first time you see your spec as a working interface, not just block names and purposes, but an actual page layout.
You can rate the implementation, add notes, or create another variant from the same fullscreen view.
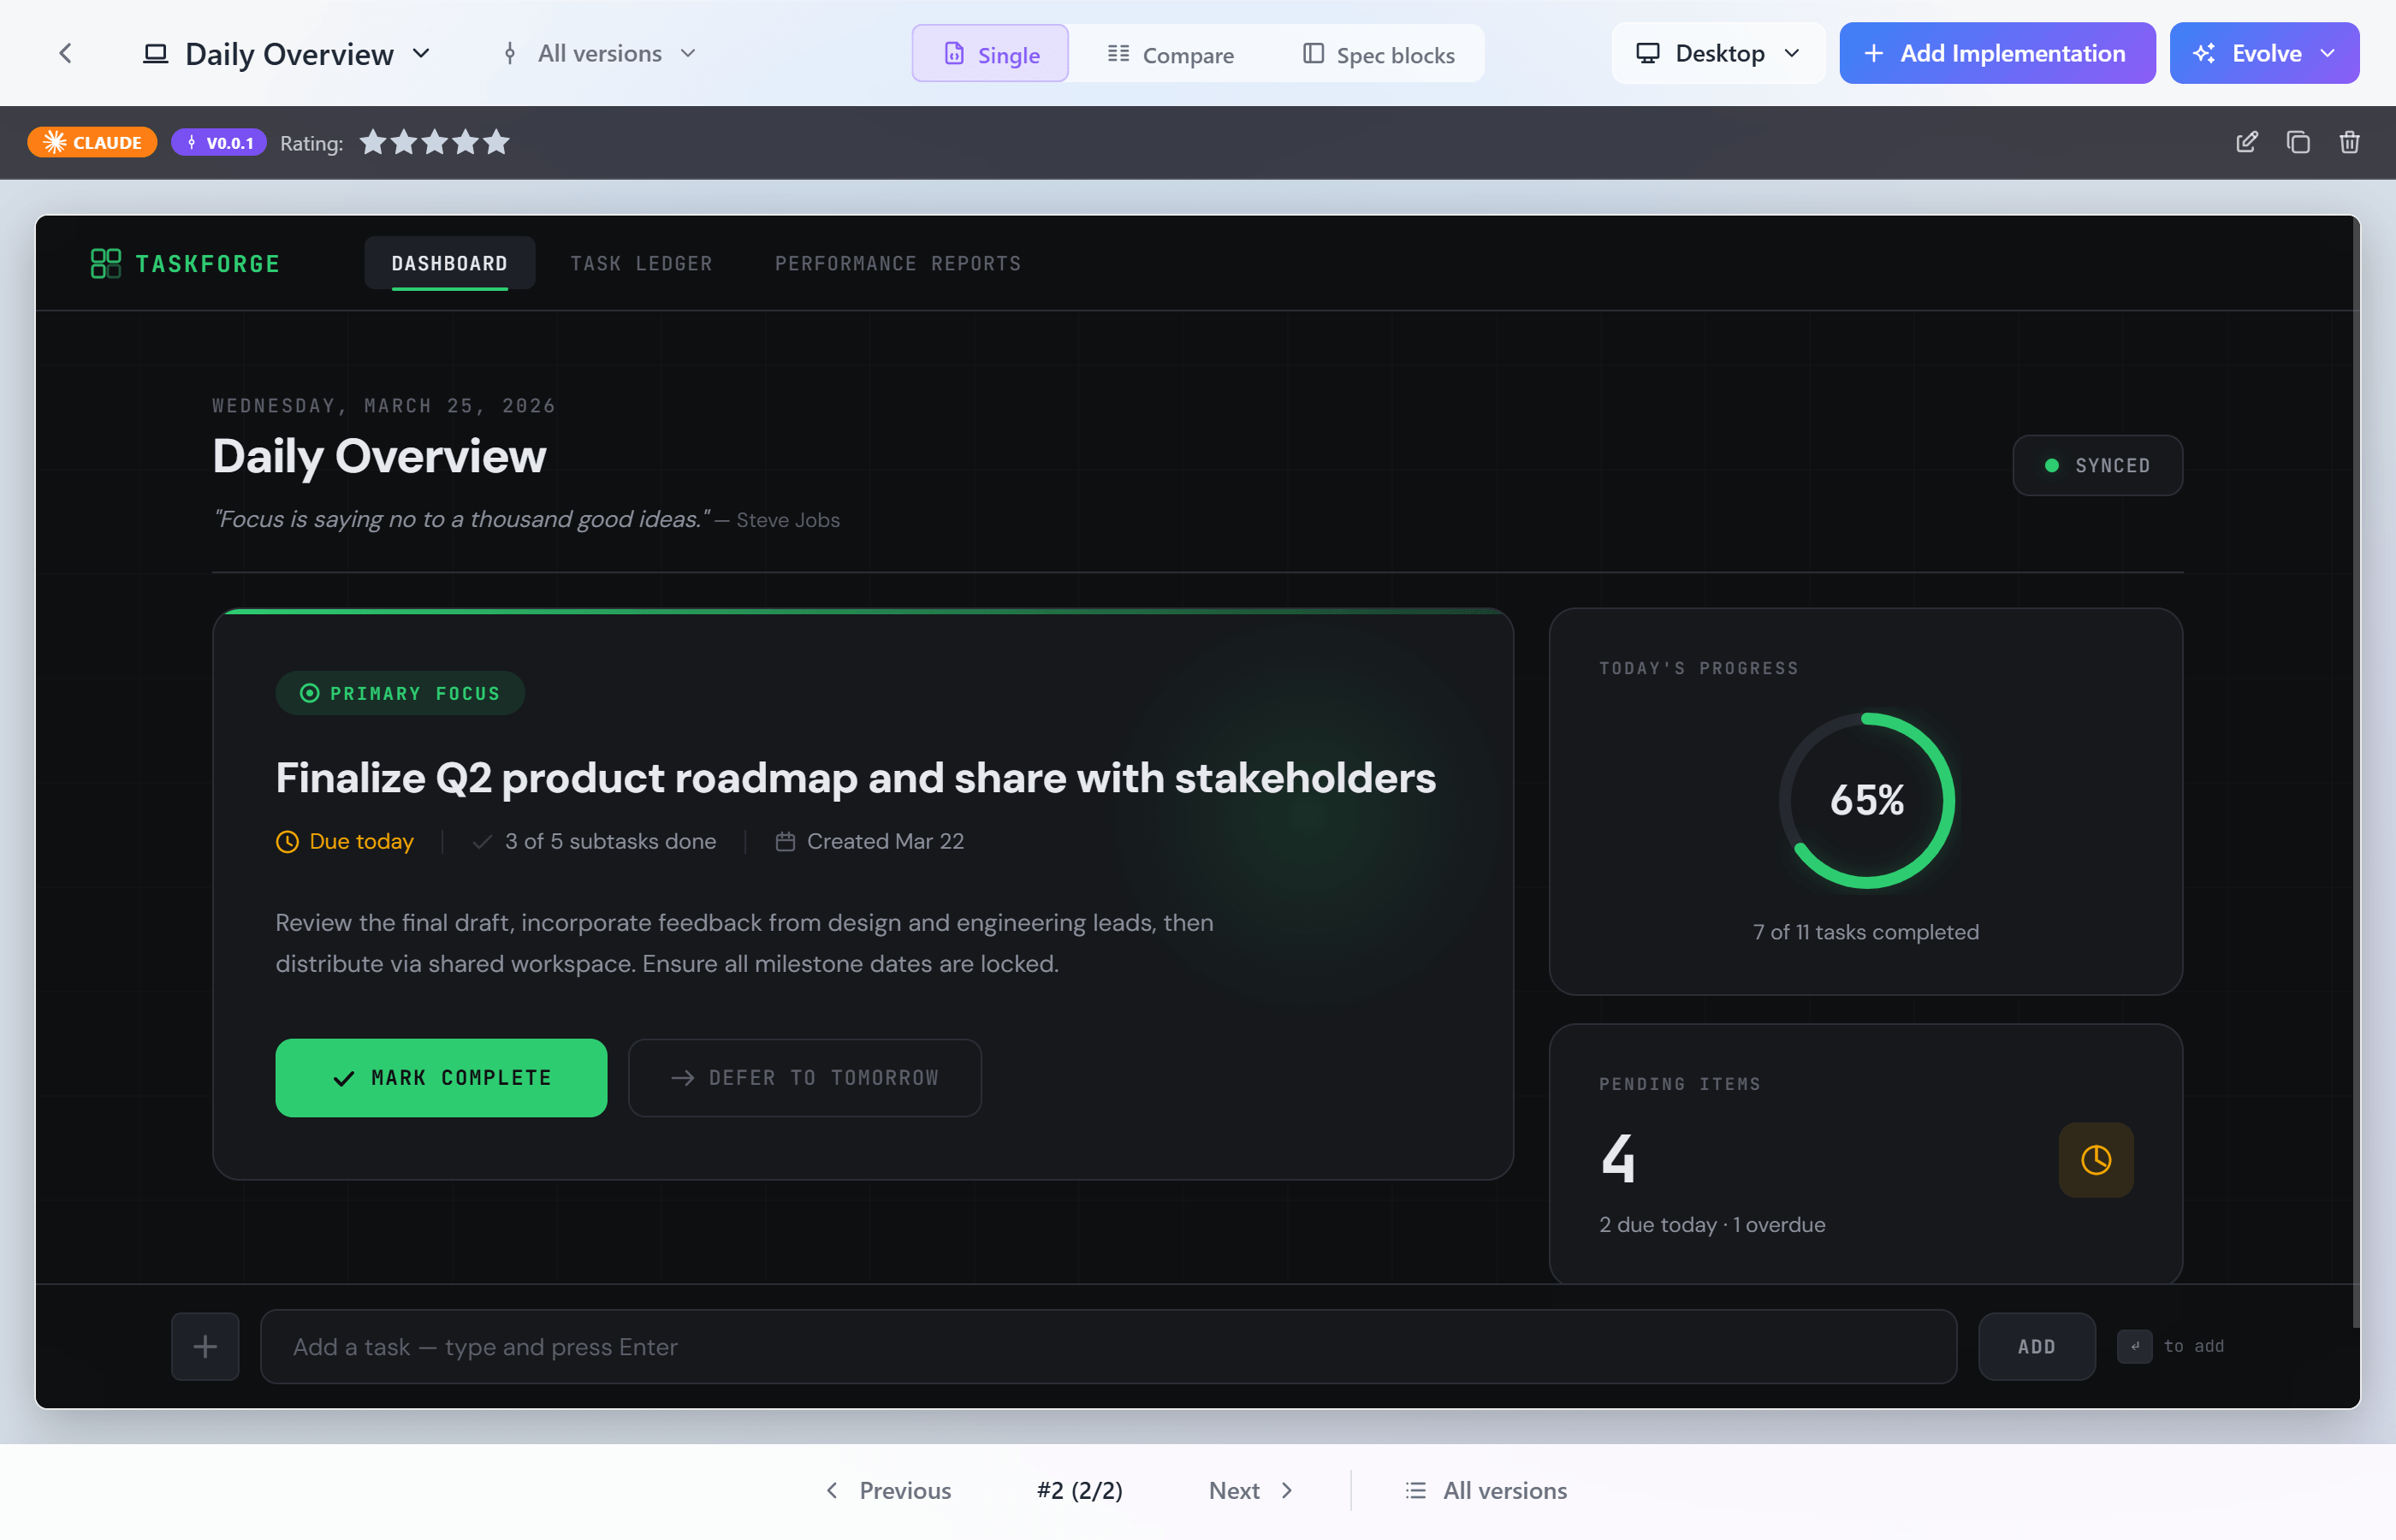
The preview panel renders your first HTML implementation — the spec is now visible as an interface.
Compare Implementations
Once you have two or more implementations, you can compare them side by side in the same fullscreen preview. Switch to Compare mode to see how different agents or prompts interpreted the same screen spec.
This is one of the key benefits of the workflow: instead of committing to a single direction early, you explore multiple variants and make an informed decision.
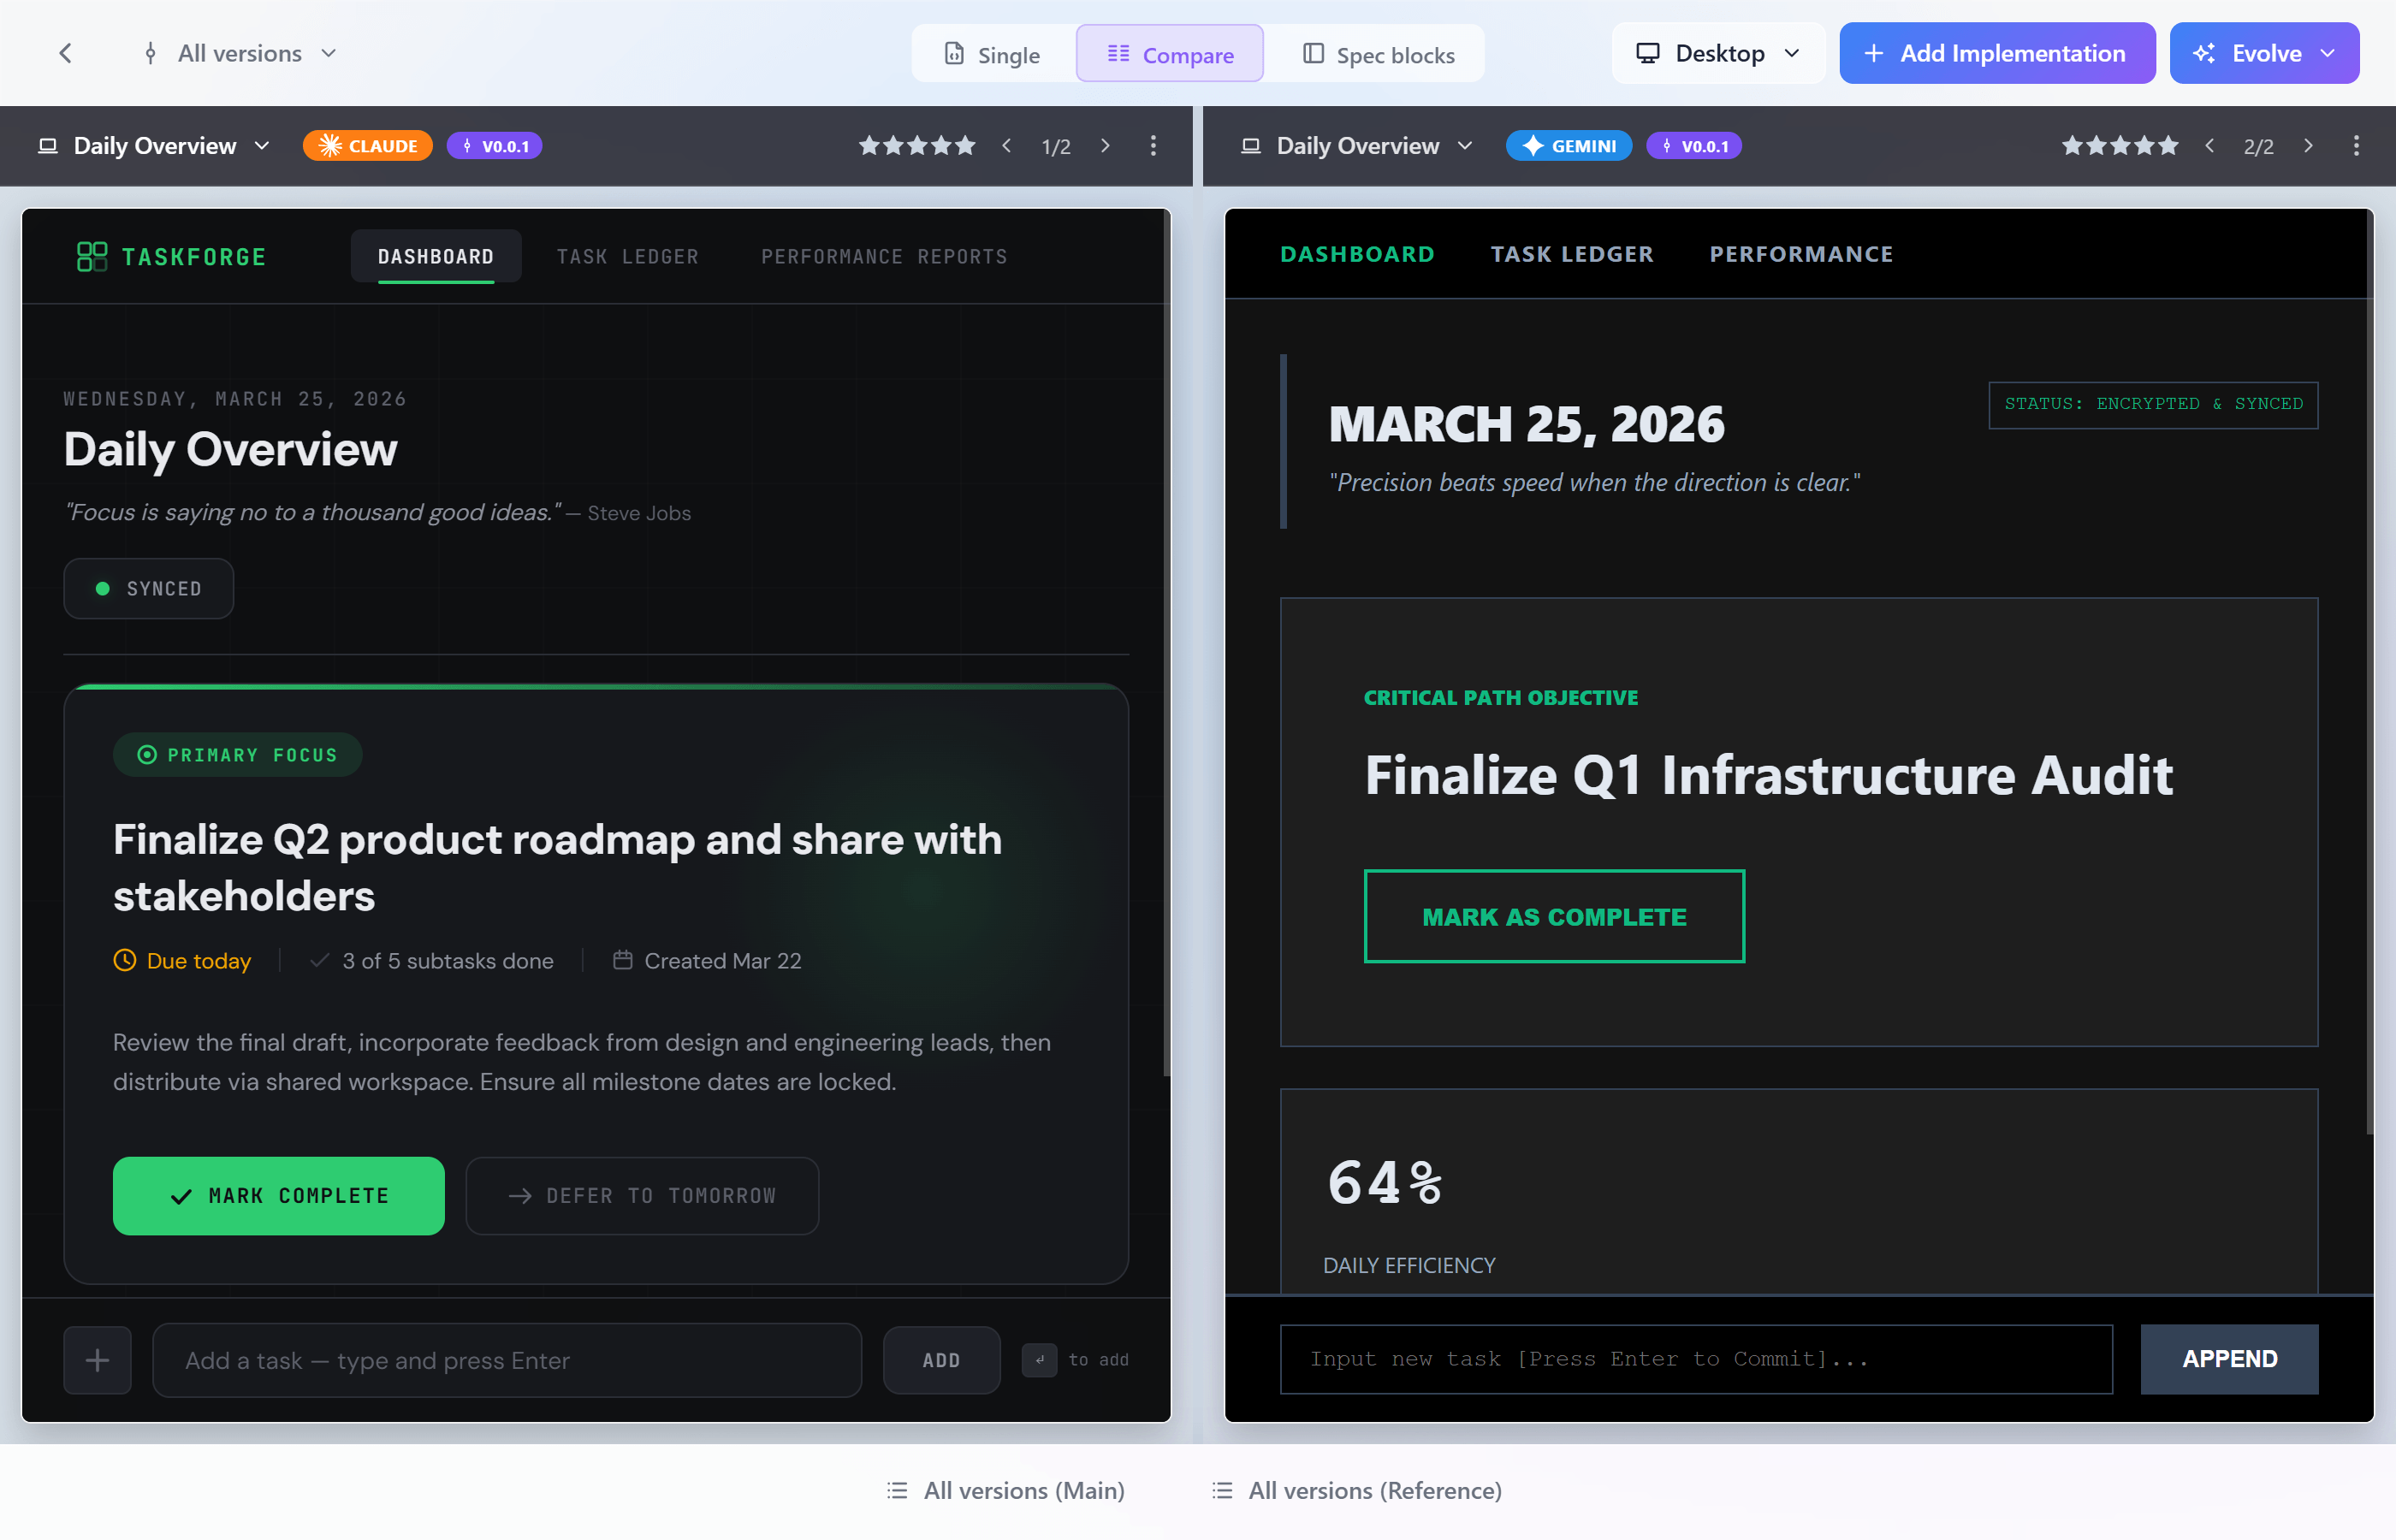
Compare mode lets you evaluate different implementations side by side before choosing a direction.
What's Next
You now have a structured spec and one or more HTML previews of your app. Here is where to go from here.
- Evolve your spec. Screens and blocks can be refined through AI-assisted evolution: change the structure, add detail, or rework a section without starting over. This works at the level of the whole spec, a single screen, or an individual block. See Use Cases for practical workflows.
- Use the spec for development. The UI Spec is a compact, reusable description of your app. You can copy it into any AI coding agent as context, share it with a team, or use it as a reference while building. See Prepare Handoff to AI for details.
- Learn the format. If you want to understand how screens, blocks, and templates work under the hood, read UI Spec.
- Describe your data model. When you are ready to go beyond UI, you can add a Data Spec to your project: entities, relationships, and the rough database shape. (Coming soon.)